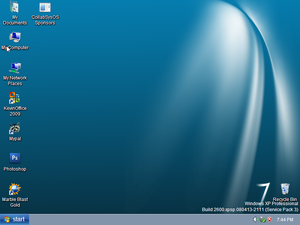
How to make a Windows bootleg/WindowsXP

In this tutorial, I'll be going through how I make Windows XP bootlegs. It's unfortunately not as easy as Windows 7+ and a pain in the ass to do, but you can get a basic crusty mod out of it. This will also work for Windows 2000 and Windows Server 2003, though I wouldn't see the point in modding those.
Pre-requisites
We'll be using these tools in the tutorial:
- A Windows XP ISO: You can find these basically anywhere and use any one you want, but I'd recommend you use the one I host, as it has SP3 and every update up to November 2013. Click here to download it
- Access to a Windows install: You will need a Windows install with basic utilities such as makecab. Most Windows installs already have this, so you shouldn't worry too much about this.
- nLite: This is optional, but highly recommended for making any finishing touches to your mod. These include things like unattended installs, update sideloading and some patches like 3rd-party themes.
- Any file hosting service: You'll need this to host your ISO obviously. I personally host mine on our own server, but you can use something like Google Drive or MediaFire.
Preparation
Acquiring themes
You can acquire themes through sites like DeviantArt, or rip them out of already existing bootlegs. I host a few that I took out of a bootleg from 2010, you can find them here
Extract the ISO
Once you have obtained an ISO, open it with a extraction utility like 7-Zip or WinRAR. You need a writable working directory to mod the files, simply mounting the ISO will not do anything. Extract it to your Desktop folder in a folder named whatever you want. And now it's time to get into the meat and potatoes of this article, actually making the bootleg.